Using a Quad Stencil to Create Multiple Wedding Cards
- Nov 5, 2023
- 4 min read

Using Quad stencils is a great way to make multiple cards or a set of coordinating cards. Taylored Expressions offers a wide variety of "Create-in-Quads" and "Triple Slim" stencil sets, which make it easy to create multiple cards at one time. You could use the 3 or 4 panels they create as they are, or you can use coordinating dies to cut out the images from the panels and apply them to new card panels. That's what I decided to do with this card.


This custom card order was requested to include a blue wedding theme with an "oversized" card base. I also had another order for a wedding card with no specific requests, so I took this opportunity to complete multiple cards using the one stencil set.
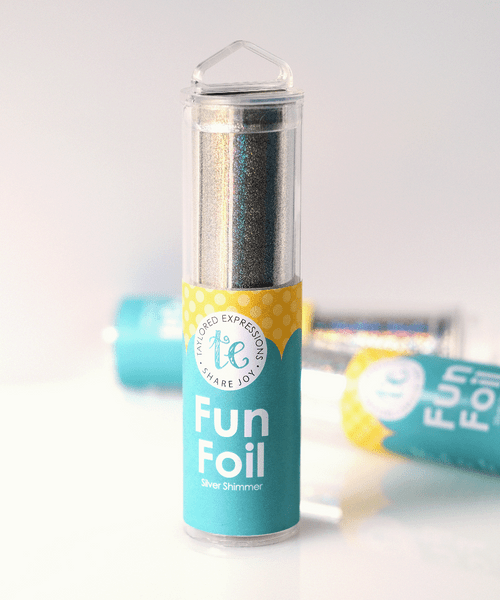
Some of the stencil designs have coordinating "Foil It" panels that usually replace one of the stencils, and this one was no different. Coordinating with the "Ever in Bloom" CIQ stencil set, I used the "Ever in Bloom" foiling panels and some Taylored Expressions Silver Shimmer Fun Foil to start my card panels. I haven't had the best luck with foiling lately as none of my panels come out completely perfect. They may have a speck or two of black toner leftover after foiling. What are your tips and tricks to getting good foiling coverage? I'm currently using the Mini Minc, the TE Foil Magic Shim, and a setting of 4 to complete the foiling. I used to use setting 3 but learned that if the toner doesn't get hot enough, the foil won't stick to it, so I'm trying the higher setting for now. Despite this, it still doesn't come out perfect. Does anyone actually use setting 5? I might have to try it just to see if it's any better!


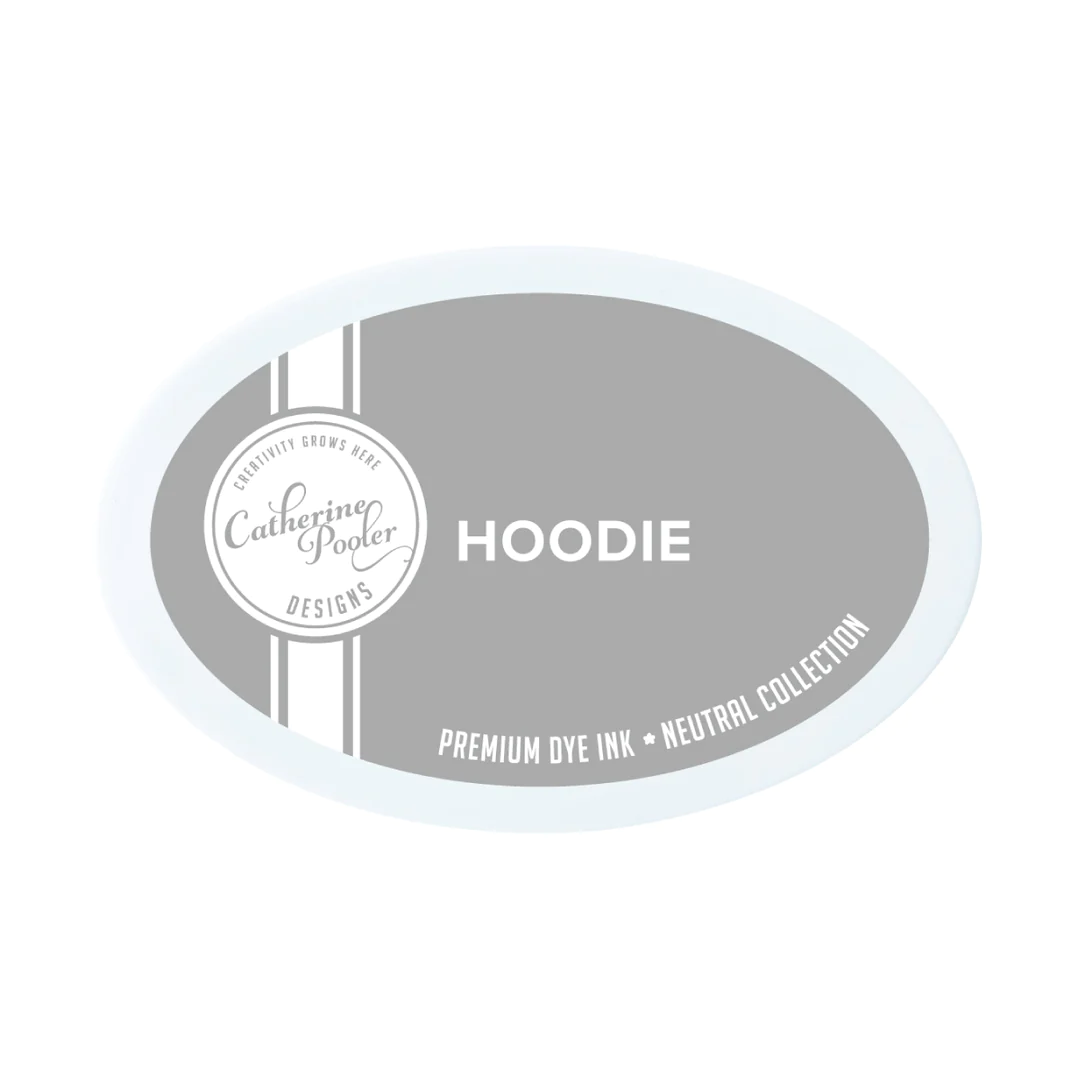
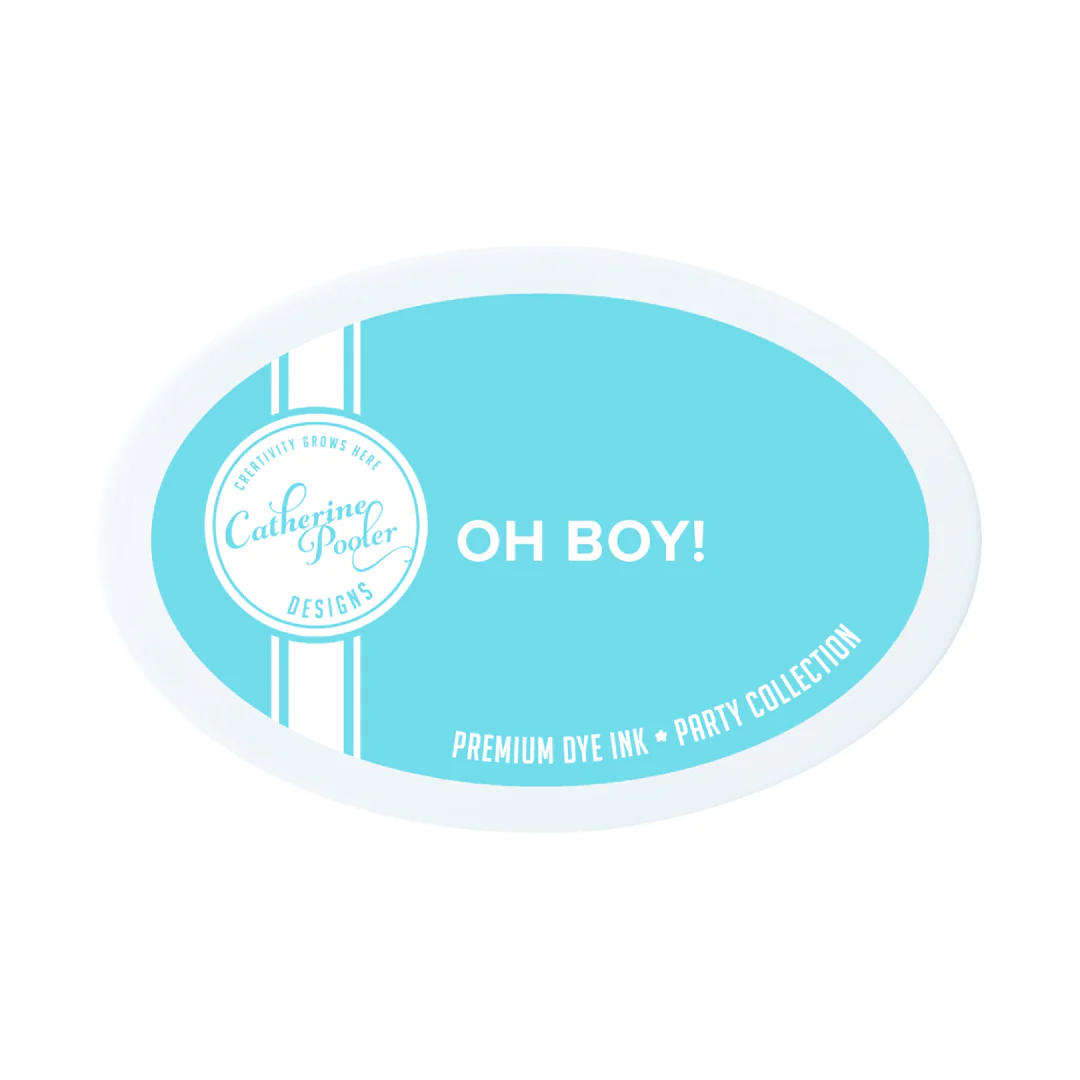
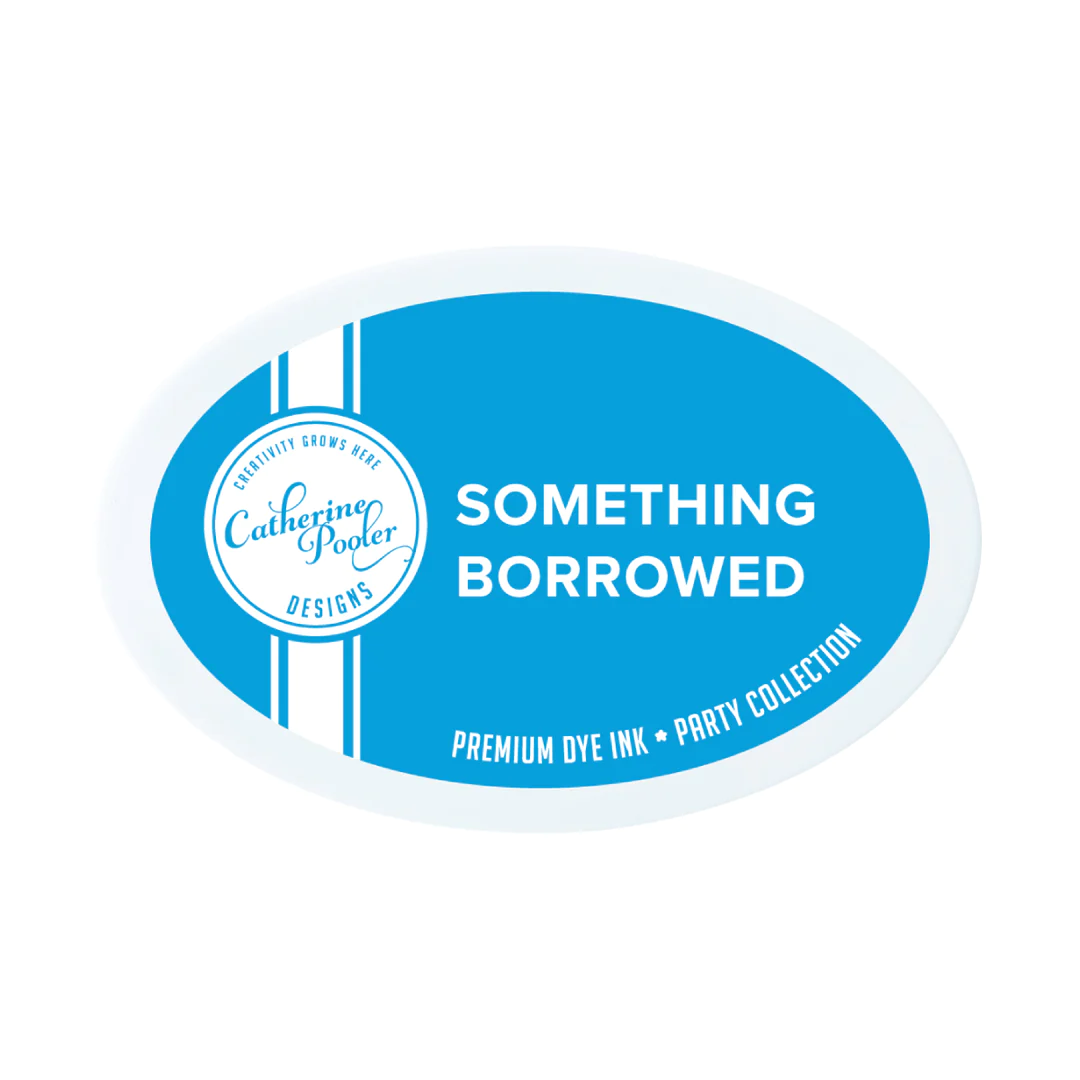
Once the card panels were foiled, I was able to add some ink to my stencil layers. I did one ink per layer using Catherine Pooler inks. I was inspired by a blue and gray card I saw on Pinterest for my color theme. It's not a combination that I use often but it really turned out beautiful, especially in combination with the silver foil. I used "Hoodie" for the gray ink, and "Oh Boy!" and "Something Borrowed" or "Suede Shoes" blue inks - I honestly forget the combo because I think blending with brushes made the inks look darker than they are. After inking the panels, I used the coordinating dies to die cut the images from the panels (if there was one) and left one panel as it was.


For this card, I needed to make a larger card so I decide to go with a 5.25" by 5.25" card base to fit inside my coordinating 5.5" by 5.5" square envelopes. It wasn't significantly larger but the customer left it to me to create what would look best and that's a more common square card size compared to 6"x6", which I really didn't have an envelope for anyways. I created my card base from some 12"x12" white cardstock, cutting it down to 5.25"x10.5" and scoring at 5.25". The cardstock was pretty thin so I knew I'd be adding cardstock layers to thicken it up and make it more sturdy. I used a technique I learned from a class with La-La Land Crafts by adding cardstock layers and foam adhesive to bulk up the card and make it feel more substantial.
I trimmed a really pretty "Island Blue" cardstock from Simon Says Stamp to coordinate with my ink colors. I cut the cardstock down to 5"x5" to leave a white matte border. I used the Sunny Studio "Quilted Hearts" embossing folder to add some stitched and heart detail to the blue cardstock.

I used the two corner pieces from my quad stencil on my card base with foam tape which really lend themselves well to working on both A2 and square card sizes.
I had purchased the "Happily Ever After" die set from Simon Says Stamp for my wedding sentiment focal point when I was planning for this card. I die cut the shadow from some Stampin' Up! vellum paper and the sentiment from some white cardstock, cutting up 3 layers to adhere together. Using some thin adhesive foam strips, I adhered the sentiment to the blue cardstock on my card panel in between my corner pieces - right in the center.

On the inside of the card, I layered some blue and white cardstock and stamped a sentiment from the Honey Bee Stamps "Inside Wedding Sentiments" inside the card on the white cardstock. I also included a sentiment from the Taylored Expressions stamp set "Signature Sentiments" at the request of the customer.

Lastly, I finished off the card with some Silver Metallic Dew Drops from The Ton Stamps. I felt this card didn't really need much more than that! I really love how it came out, especially the blue and grey color combo.


What are your favorite colors to use on a wedding card? How do you plan out your cards prior to creating them?
Unfortunately, I did not take a picture of the other wedding card I created using the same supplies with one of the other card panels created from the CIQ stencil. Trust me when I say it was just as beautiful as this one!
Thanks for stopping by! Happy crafting :)
Pam
Going to do some crafty shopping?
Consider using my affiliate links to help support my blog at no extra cost to you!
A Cherry on Top: https://www.shareasale.com/r.cfm?b=1497494&u=1032820&m=95132
Amazon: https://amzn.to/3AoTrxv
Amazon Storefront: https://www.amazon.com/shop/stellarcraftsbypam
Art Impressions, Inc.: https://www.shareasale.com/r.cfm?b=1348480&u=1032820&m=88440
Brutus Monroe: https://shareasale.com/r.cfm?b=1228495&u=1032820&m=46996&urllink=&afftrack=“
Gina K. Designs, LLC: https://www.shareasale.com/r.cfm?b=813537&u=1032820&m=63125
Kat Scrappiness: https://www.shareasale.com/r.cfm?b=1704232&u=1032820&m=105974
My Favorite Things: https://www.shareasale.com/r.cfm?b=481500&u=1032820&m=47433
Pretty Pink Posh LLC: https://www.shareasale.com/r.cfm?b=1154750&u=1032820&m=78443
Simon Says Stamp: https://www.shareasale.com/r.cfm?b=199868&u=1032820&m=24698
Sunny Studio LLC: https://www.shareasale.com/r.cfm?b=1051456&u=1032820&m=73685
Trinity Stamps LLC: https://shareasale.com/r.cfm?b=1377581&u=1032820&m=89722&urllink=&afftrack=
Waffle Flower Crafts: https://www.shareasale.com/r.cfm?b=668124&u=1032820&m=56238


Comments